WILDLIFE ACOUSTICS BLOG
See a sample blog post below.
7 Microphone Detection Considerations for Bioacoustics Studies
Recording humans is relatively easy. Vocalists skillfully sing into the microphone to properly capture their tone, range and pitch. Studios are equipped with soundproof rooms and foam paneling to create perfect acoustic spaces. And recording engineers are trained to fine tune the entire process.
As a wildlife biologist, you face a bit more challenging set of circumstances as you set out to record wild animal vocalizations.
For starters, while your subject might sing an amazing song, they probably won’t hit the high notes on cue.
And unlike a music recording engineer, you won’t have complete control over your studio. That role is already taken by Mother Nature herself. She often turns the temperatures up and down with little notice. Sometimes, she even throws in little rain or wind to shake things up.
To add to all that, although you’re highly knowledgeable about your study species, recording sound probably isn’t your specialty yet.
But don’t fret! Whether you’re just getting started with bioacoustics, or could use a few pointers on how to improve detection rates, here are seven elements to consider as you begin your study.
1. What is the frequency of your animal’s call?
Where do the vocalization frequencies of your research subject fall on the sound spectrum?
To capture the sound of your species, you need recording equipment that contains a microphone with the proper frequency response.
Can you hear it with your own ears? Generally, calls, chirps, songs, hoots, howls, and other vocalizations within the range of 20 Hz to 20 kHz are audible to humans (at least, those with younger ears!).
If the animal you’re studying falls into this category, an acoustic recorder would be appropriate. This includes the Song Meter SM4, Song Meter Mini, and Song Meter Micro, all of which have integrated acoustic range microphones.
What about sounds below this range? Here’s where it gets slightly trickier. Some animal vocalizations, like an elephant rumble, for example, are below 20 Hz and fall into the infrasonic sound category.
Luckily, most acoustic microphones cover a wide frequency range capable of capturing ultra-low frequencies, too. Likewise, calls that might be slightly higher pitched than the acoustic sound range could also be captured by the same acoustic recorder device.
But what if the sound is very high-pitched, like a bat? Many bat species – with the exception of fruit bats – emit high-frequency signals to locate insects to eat. These echolocation calls are not heard by the human ear, as they are above 20kHz. To be recorded, they require an ultrasonic microphone with a frequency response in the ultrasonic spectrum.
Recorders with ultrasonic microphones include the Song Meter SM4 FS, Song Meter Mini Bat and Echo Meter Touch.
Keep in mind that, in addition to picking up high-frequency sound, an ultrasonic recorder may also capture some sound slightly below the ultrasonic range. This might be ideal for certain species, like the Slow Loris (the only known venomous primate), along with some squirrel species, that have vocalizations in both ranges.
A little research can go a long way in helping you to ensure you select the right recorder.
2. How loud does your animal call?
As you consider where to position your microphone to maximize detection, you’ll also need to factor in the amplitude, or loudness, of your animal’s call.
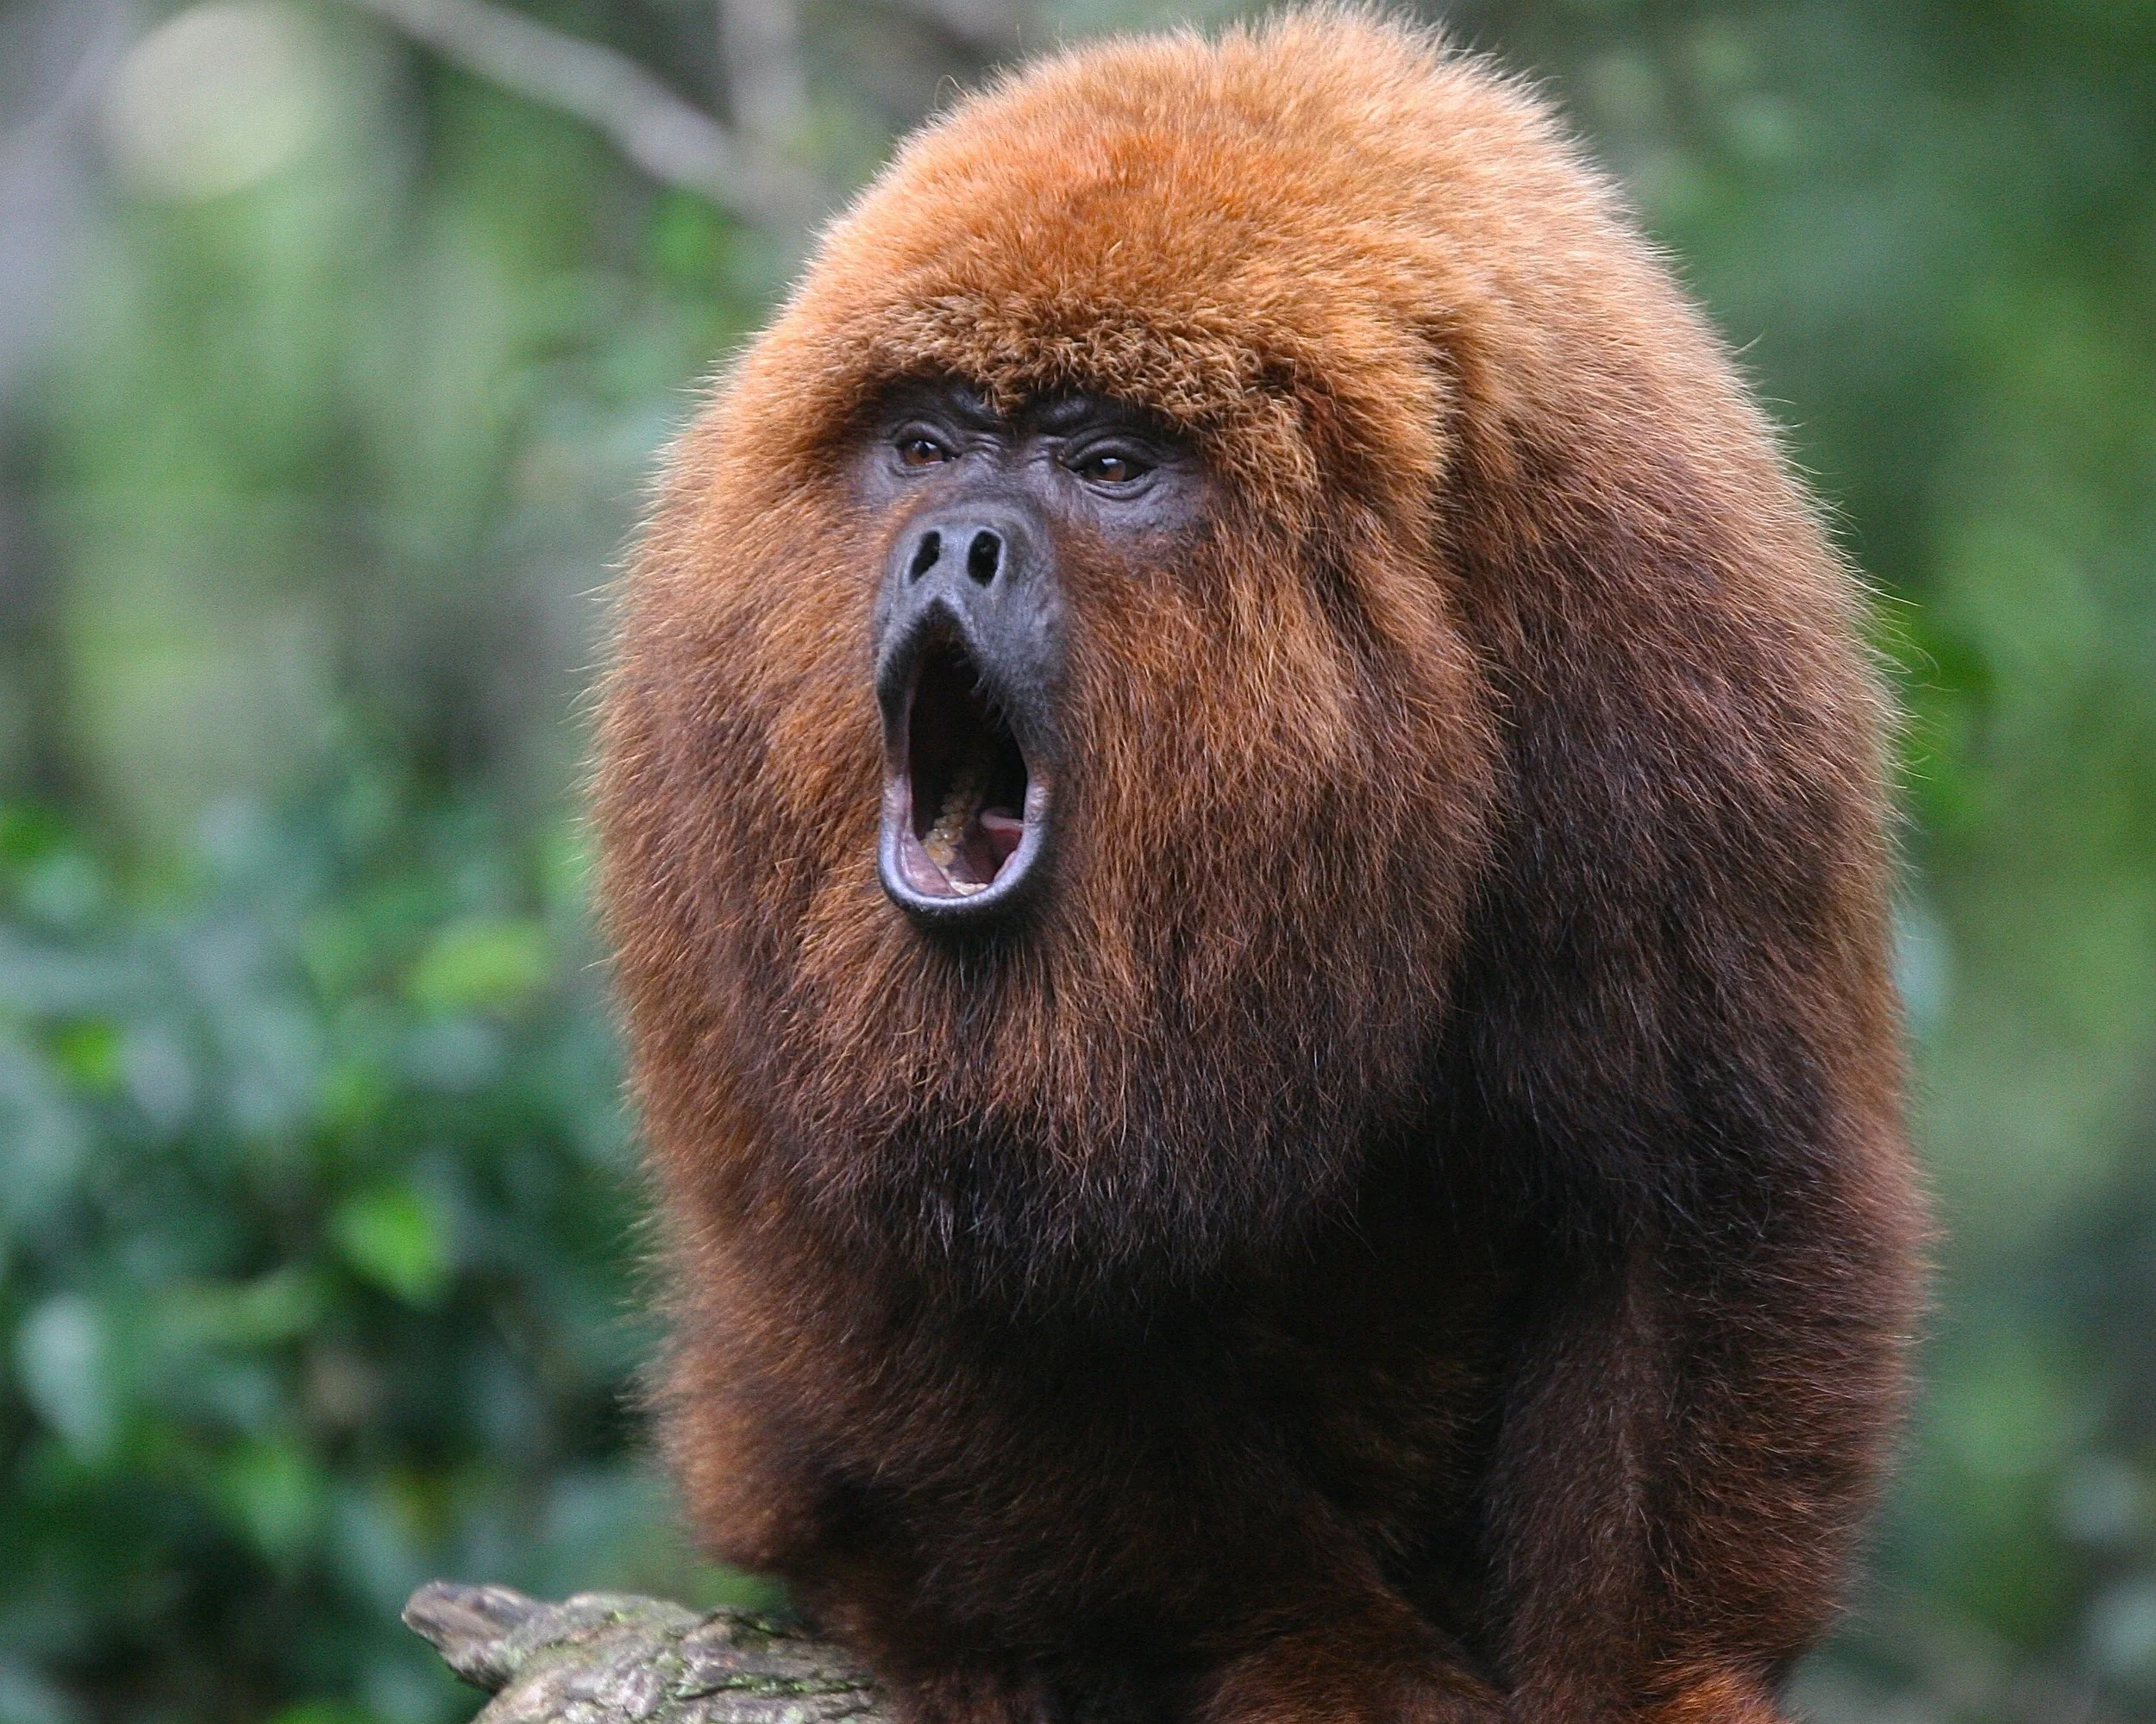
Let’s say, for example, that you’re studying the Howler Monkey, the loudest terrestrial mammal on the planet with calls that travel for several kilometers at 140dB. (That’s about the equivalent of a jet plane taking off right next to your ear.)
Your recorder wouldn’t need to be positioned as closely to your subject as say, in a study of a bee, which creates much quieter sounds that travel just a few meters at around 40dB.
A good rule with acoustic recorders is that if you can hear it with your ears, chances are good it will be audible in the recording.
One other caveat on amplitude: For a sound to be discernible, it must be louder than the noise floor. The noise floor is the level of unwanted noise across the frequency spectrum on which your recorder operates.
As there aren’t many things that make noises at very high frequencies, this will be less of a concern with bats and ultrasonic recorders, which are automatically triggered only when ultrasonic sounds are detected.
Acoustic recorders, on the other hand, cannot operate on a triggered basis because there are so many noises that fall into this range of the sound spectrum. This means that you will be recording everything within the range of human hearing, and for longer durations to discover the species you’re seeking.
What’s your species habitat? Are there other sounds in that space, like frogs or a nearby river or waterfall, that will interfere with recordings because they’re making noise at the same frequency as your research subject?
Minimize unwanted and ambient noise by positioning your recorder away from such disruptions as much as possible.
3. Are there physical barriers in your recording environment?
When recording ultrasound, such as with bat calls, physical barriers – any hard, flat surfaces near your recorder – should be avoided. The smaller the sound wave, the greater the impact physical barriers will cause.
Imagine entering a cathedral and clapping your hands once. The sound leaves your hand, hits the reflective surface, and comes back to you as an echo. The echo continues to bounce off the walls and ceiling until the sound runs out of energy. And as the echoes continue, the clap no longer sounds like a discernible, unique event.
Clutter in your research environment, such as trees, water, and rock faces, can create a similar scenario where small, ultrasonic waves bounce off reflective surfaces.
Always test your recorder to ensure it’s positioned in such a way that physical barriers will not hinder your efforts by creating echoes.
4. Are you recording wildlife in rain and/or humidity?
Let’s start with the obvious: Rainfall creates ambient noise! The pitter pat of the raindrops alone might make it more difficult to analyze your recording.
Perhaps less obviously, moisture in the air also impacts how sound travels. Air moisture can dampen high frequency sound, while it may help low frequency sound to carry farther.
And we must not forget that sound travels through different mediums – not just the air.
Water is denser than air. So, when it's raining and it’s a higher density atmosphere, lower frequencies might travel faster. On the other hand, in the same conditions, a high frequency vocalization might not travel as far. This effect is even more exaggerated with bats due to a phenomenon known as atmospheric attenuation.
As you consider the impact of rain and humidity on your study, remember that many elements affect detection distance.
5. Is there wind in your recording environment?
When the wind is blowing, it can create a few issues, the first being how far animal vocalizations will carry.
It’s important to remember that if your subject is upwind (going against the wind), your microphone won’t pick up the sound as well as it would if it were downwind.
The noise from wind can also be problematic. Not only is it out of your control, but excess wind can lead to distorted recordings, making it difficult to salvage the audio data that you’re interested in analyzing.
There are a few things you can do to mitigate the effect of wind on your recording. For example, make sure your recorder is not facing into the wind directly.
Additionally, use the windscreens that come with Wildlife Acoustics microphones. If needed, you can also purchase extra large windscreens and place them on top of those ones already installed for an extra layer of wind protection.
Another option might be to use a reflector. If you know the direction that most of the wind is traveling, you can place your recording device behind something, like a rock, so that wind will travel around it, while the smaller sound waves from wildlife calls are able to travel around and to the microphones.
You can also apply a high pass filter (HPF) on your Song Meter. Since wind noise has the most energy in the lower frequencies, applying a filter that allows only higher frequencies to pass through can take care of a large portion of the wind's impact on your recordings.
If the sound of the wind is still overpowering the microphones after using these tactics, try lowering the gain in the settings menu of the recorder.
6. Are you recording wildlife in high temperatures?
As with any electronic equipment, extreme heat can cause damage to your recorders. Check your user guide for exact specifications on how your Wildlife Acoustics recorder is rated, and make sure it is not exposed to any hotter temperature than specified.
Keep in mind that temperature outside might not necessarily reflect the temperature of your recorder. Consider where your recorder is situated. For example, if your recorder is placed in a sunny spot with no wind, it will heat up more than if it were in a shady spot with wind.
With UV exposure from direct sunlight, the foam in the microphone windscreens can break down over time. Even if they turn brown, which is normal, the windscreens are still useful until they begin to flake away. At this point, you may need to replace them.
In fact, it’s always best to order extra microphone windscreens when you’re purchasing your equipment in case they degrade or are eaten by wildlife. This way you save on shipping costs and have backups in the field.
7. Are you recording wildlife in low temperatures?
Though most bat researchers put away their recorders before it gets too cold, if you’re studying animals that stay active in winter, your recorders will also remain out in the field in potentially freezing conditions.
Wildlife Acoustics recorders will be fine down to -4 F (-20 C). However, temperatures below that can harm components, so you should plan to bring your recorders indoors if you know a big freeze is about to hit. Keep in mind, batteries degrade faster in colder temperatures so that will be another factor to consider.
There are some ways you can mitigate temperature swings. For example, by using cabled microphones, some scientists keep their recorder in an insulated cooler during overnight temperature swings. Another researcher in Antarctica buried his units to keep them warmer!
Ready to get started?
Contact us at sales2022@wildlifeacoustics.com to learn more.


